It's time yet again for the latest installment of the “ I Bought a House ” version of “War and Peace” (Read part 1, part 2, part 3, and part 4).
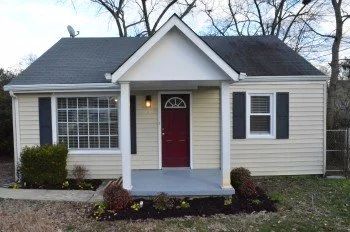
When last we met, I had the deck on my investment property rehabbed and transformed from an unsightly, unsafe conglomeration of wood and wire fencing, to a nice, esthetically pleasing, and safe place to hang out on a warm summer day with a cold iced tea and a freshly grilled steak. At that point, my investment in the property had grown to $51,698 and there were still projects to be done.
Now it's my turn to do some of the work.
I Started on the Interior
I do have some experience at construction (self taught), as I had previously built out our 900 square foot basement complete with hardwood floors, full bath, an office, and a gym. So I knew I could tackle most anything I ran into.
Mostly I was just going to handle small stuff because I didn't want to spend a lot of my free time working on the house myself. So I got busy prettying up the interior by doing a few easy things:
1. I replaced all the interior doors. The old ones had been cut (very poorly) to fit the opening and looked like they had been chewed on by a door-eating circular saw. The new ones only cost about $30 each (plus tax) and were easy to install.
Total: $100
2. I hung plantation blinds on all the windows, something nice that you don't usually see on a home at this price point. This will help make the house stand out from others in the neighborhood.
Total: $300
3. I replaced a few old, dated lighting fixtures and put up wire shelves in the laundry room.
Total: $125
4. Added weatherstripping to the back door.
Total: $15
The House Came With a Plumbing Demon
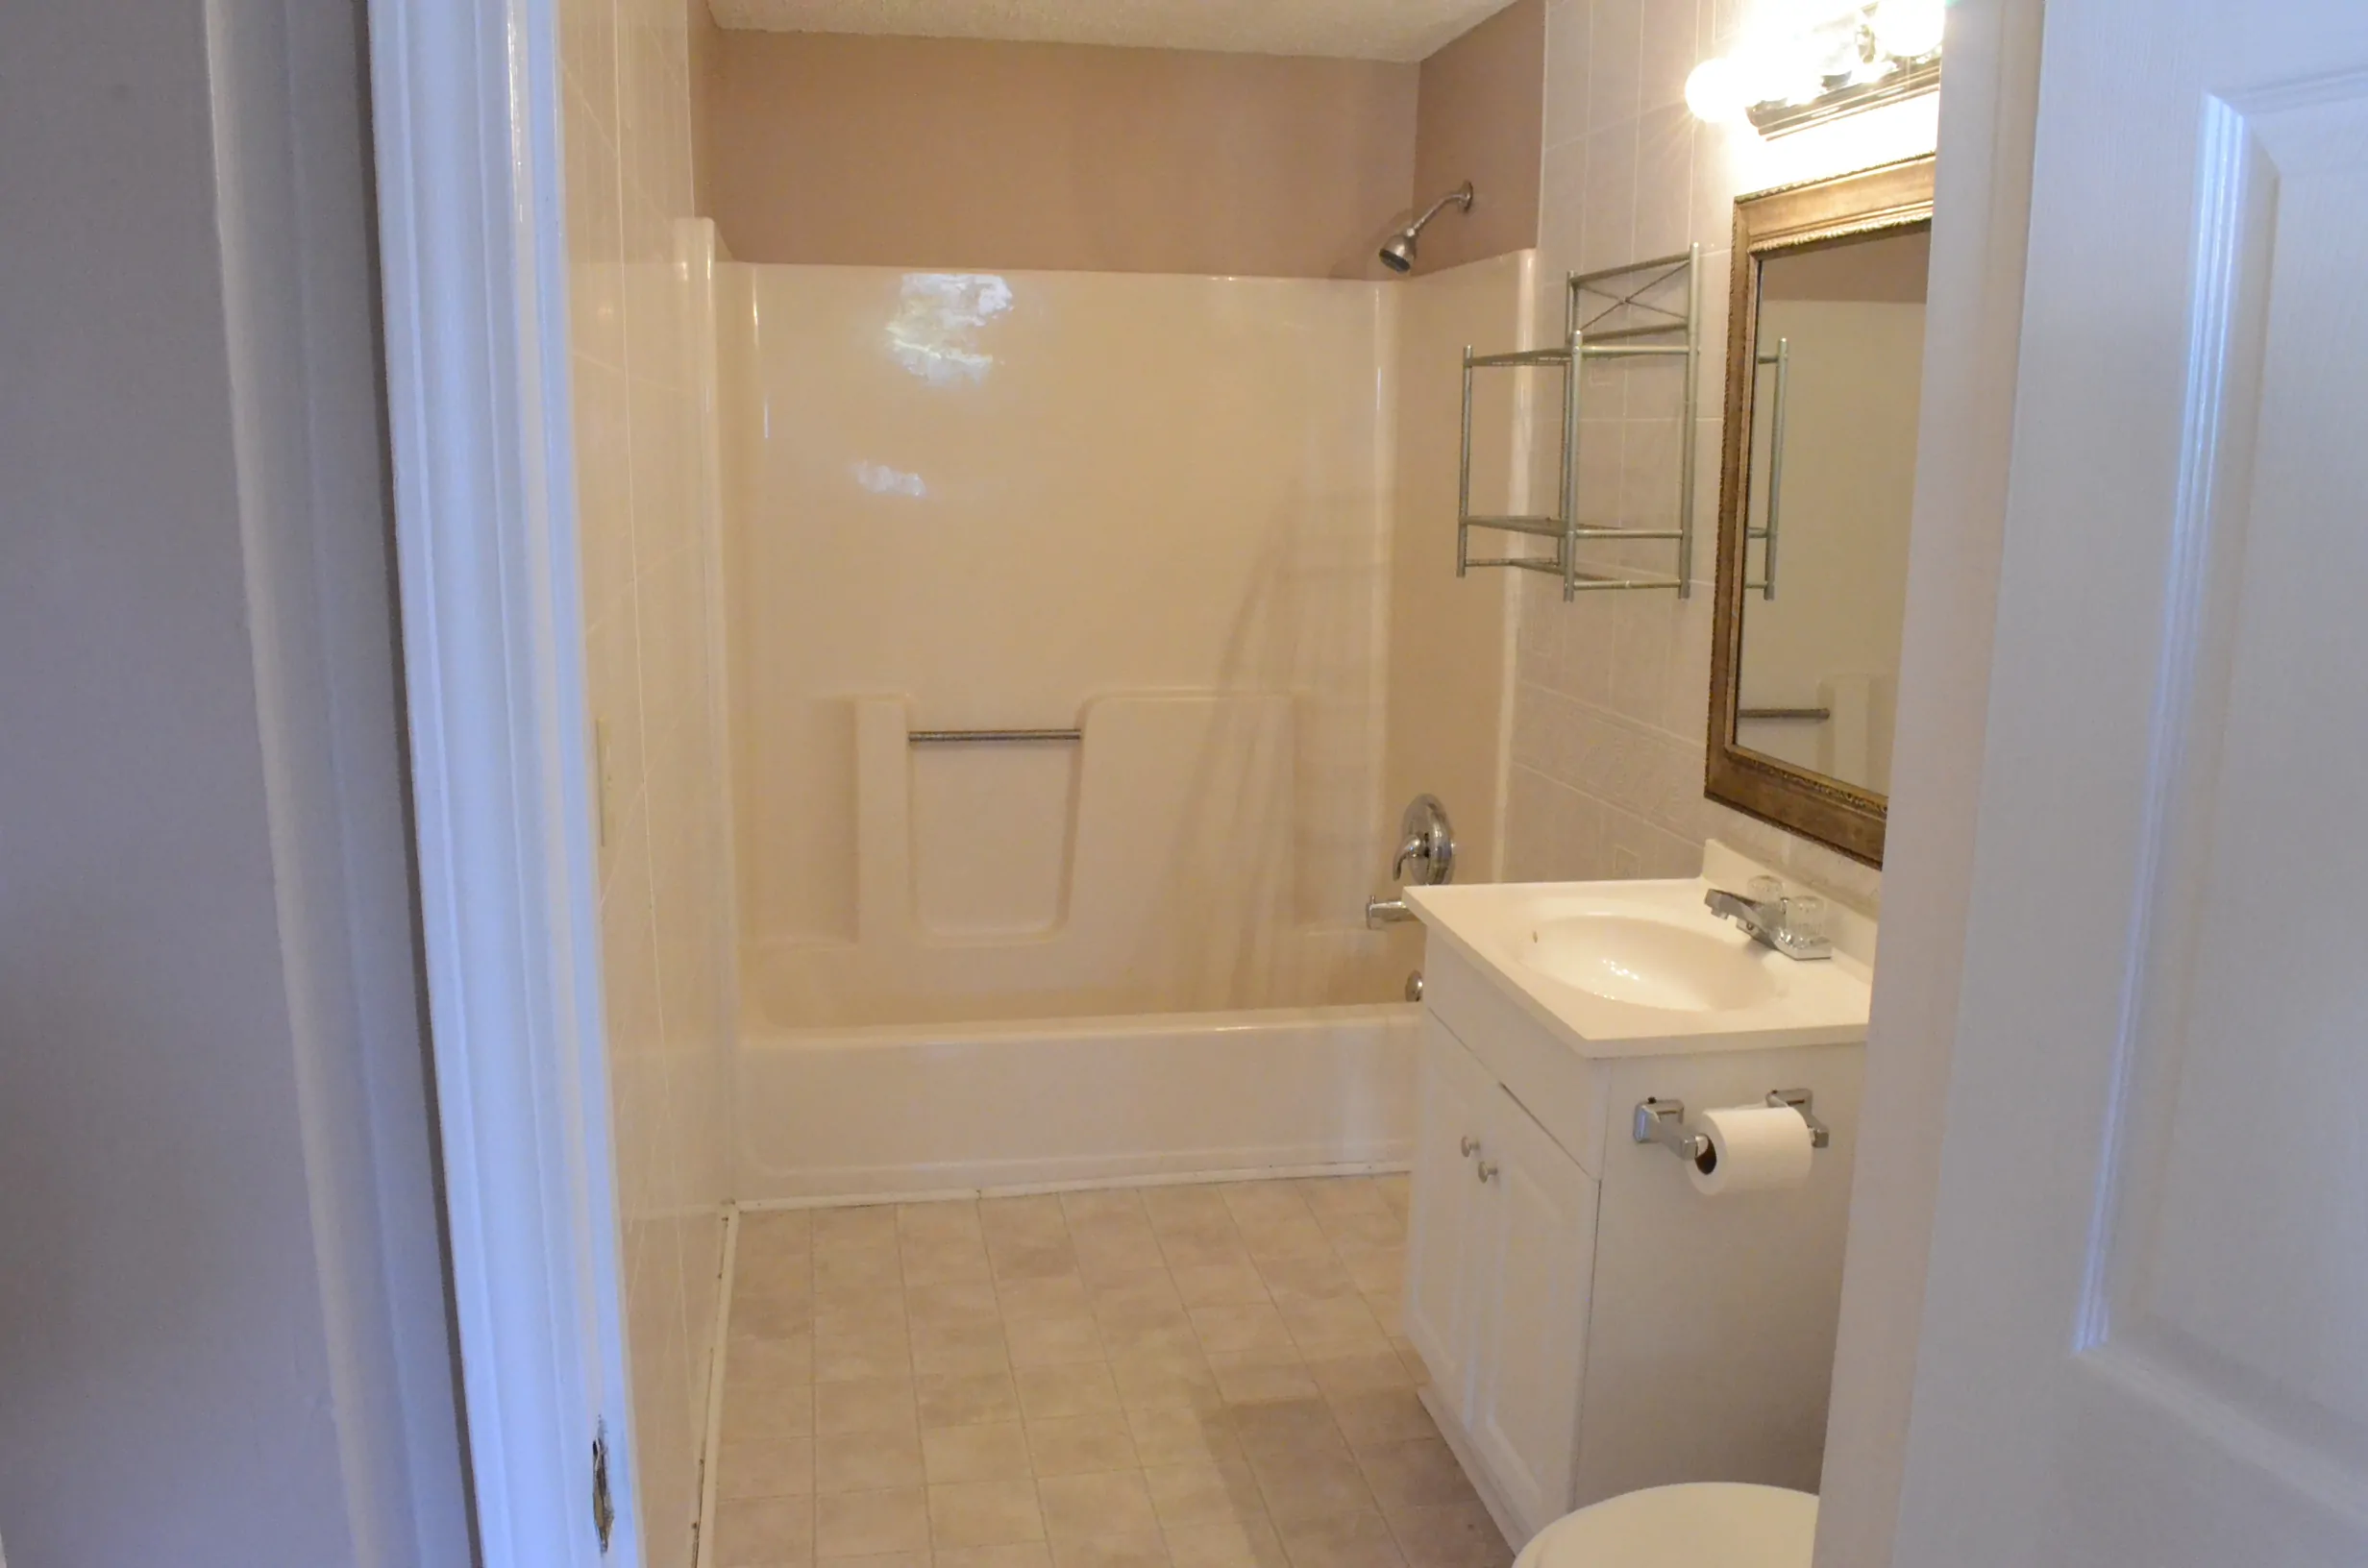
Then it came time to fix the water leak in the bathroom that my inspector had told me about.
The water had been turned off after the inspection so there would be no further damage until the leak could be fixed. I had determined by crawling under the house that the leak was coming from behind the shower and it was not accessible from underneath.
A Potential $1,000 Mistake
So now I had to do something I really didn't want to do. I was going to have to remove the old shower/tub fixtures (which needed replacing anyway) and cut a hole in the fiberglass shower wall to hopefully get access to the leak.
So I removed the old 1950's era fixtures and cut the hole.
I was extremely nervous about it because if I cut it too large I wouldn't be able to cover it up, then I'd have to replace the entire shower/tub combo at a cost of around $1,000 and lots of time on my part.
Once I cut the hole to the dimensions I needed without screwing it up (Whew!), I then had the water turned on and felt around inside the wall, finding the source of the leak. Once I figured out where the water was coming from, I also discovered I'd have to rework the plumbing to accommodate the newer fixtures.
I Hope I Don't Burn the House Down!
So I got out my blowtorch and heated up each joint to remove the old pieces of pipe I didn't need. That was yet another nerve wracking task because I was using a blowtorch inside an enclosed wall, praying I wouldn't burn the house to the ground (now that would be embarrassing!). However, I did get a fireproof felt cloth from the plumbing section at Lowe's to put between the wall and the pipes to help with the task.
Thank God no firemen had to be called!
Once I got all the old pipes out, I cut new pipes, then fitted and soldered them together to fit the configuration of the new fixtures. That took quite a while because I had never had to do that before. I had to work to get it right so everything would work correctly once I put it all together.
The Master of the Blowtorch
Now it was time to solder the new pipes to the old, but I had one problem: there was still water in the old pipes, and you can't solder pipes closed if there is water present.
I tried for two hours to get all the water out, but no dice.
I decided to let it sit until the next weekend and hopefully by then the moisture would be at least somewhat dried out. The next weekend came and there was still water in the pipes.
I tried boiling the water out with a blowtorch.
I tried drying it out with a cloth, soaking it up a little at a time.
Still not dry enough.
Since I was only working at the house on Saturdays, I ran out of time again trying to get this thing dry, but I was NOT gonna let it beat me!
I came back for a third Saturday and was finally able to soak the moisture out with a cloth. I soldered the new to the old, no leaks to be found, no firemen involved. Whoopeeee!
You can't beat me, plumbing, I am the master of the blowtorch!
White Bread and Plumbing
I installed the new fixtures onto the new plumbing and ended up with a great looking result.
Later, I told a few friends about my plumbing fiasco and each one of them ended up telling me the same thing: when you have moisture in a pipe you can't get rid of, stuff the pipe with sandwich bread (no crusts) and it will soak up the water so the pipe can be soldered shut. Then after the water is turned on, the bread dissolves and will run through the faucet, problem solved.
Where were they when I was battling the plumbing monster?
Live and learn I guess.
Probably the biggest thing I did learn is that I ended up spending way too much time working on that one issue myself. It really ratcheted up my stress level and took up part of three Saturdays. I decided that if I ever invest in a property again, I will be more likely to call in a pro to handle anything that I'm having problems tackling myself. That stress ended up having a major effect on my health not long after that.
Total for plumbing fixtures and supplies: $155
Costs Are Mounting
So after all the blinds, lights, plumbing, and weatherstripping I've now spent a total of $52,238. Costs are mounting but it's all coming together. At this point I still had not decided whether to sell the place or rent it out.
Stay tuned and check out the next post in the series to find out about how I finished up the project, and whether I decide to rent or sell this investment. I'll also include after pictures to show how everything turned out.
Read the entire series on my house flipping experience
Your DIY projects sound a lot like mine. A few extra days and a few extra trips to the hardware store and they usually get done. 😉 But, there’s a certain satisfaction with having done it yourself and having done it right too.
Yeah, I’m definitely a do it yourselfer, sometimes to my detriment. I enjoy it but I have to be careful on a project like this that I don’t let it take up too much of my time and energy. I will have to learn to delegate to a contractor more often.